
New Deck-Mounted blocks Installed
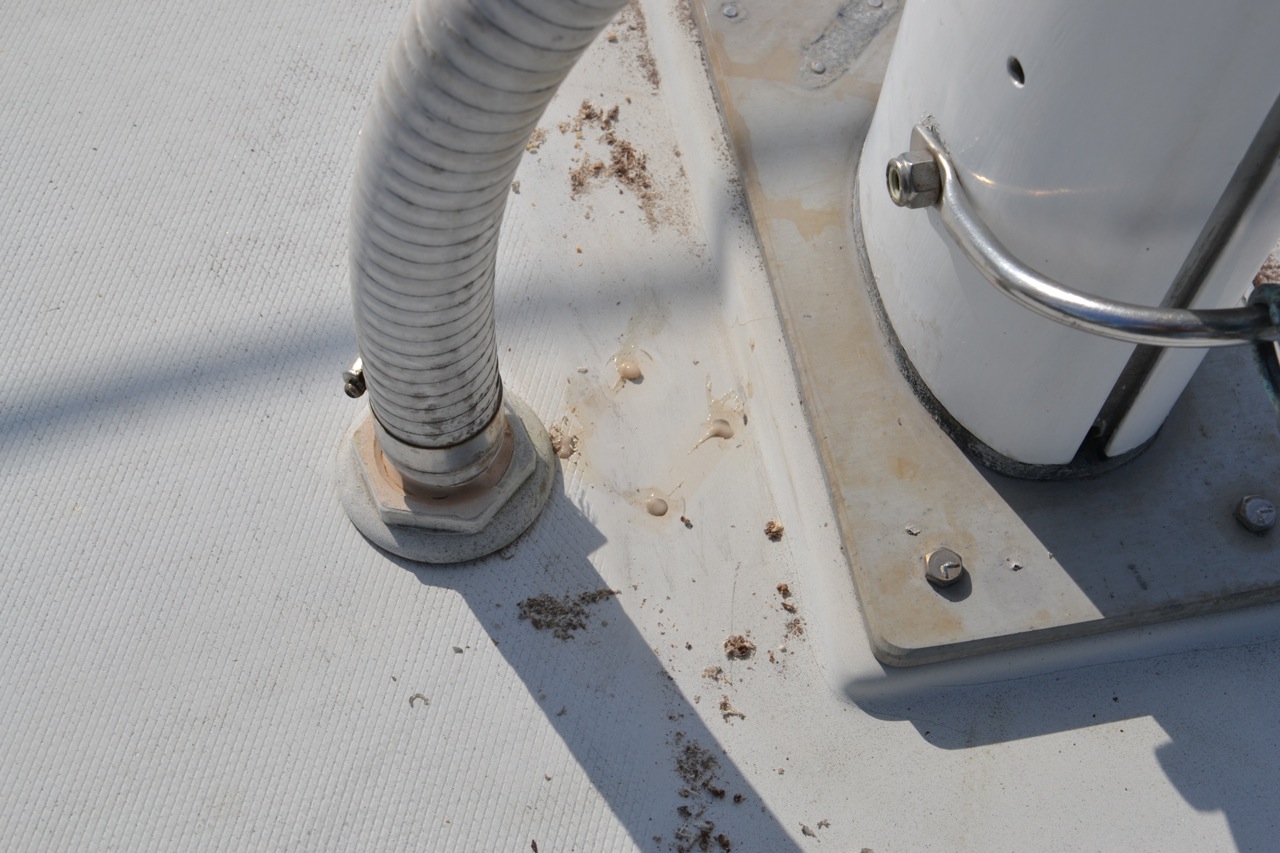
Another multi-step projected mostly completed today. Yesterday I removed the old blocks from their long-held locations on the coach roof. These poor blocks were in sad shape. One had lost its cage, another had lost half of its sheave. 3 out of 4 of them still actually turned and conveyed the line along its way, but not very well. And none of them were installed correctly – by this, I mean they were fastened by a variety of means, sealed with silicone, or fastened with stainless screws into the aluminum mast step plate. One of the blocks was actually fastened with .5″ self-tapping screws into the top skin and partially into the core. For all of that, none of the core was wet! Amazing! Here are some of those sad images. I’m embarrassed to say that I haven’t addressed it until now.

Here’s a photo of the motley crew. Sad bunch, these guys were. Not one piece of matching hardware.

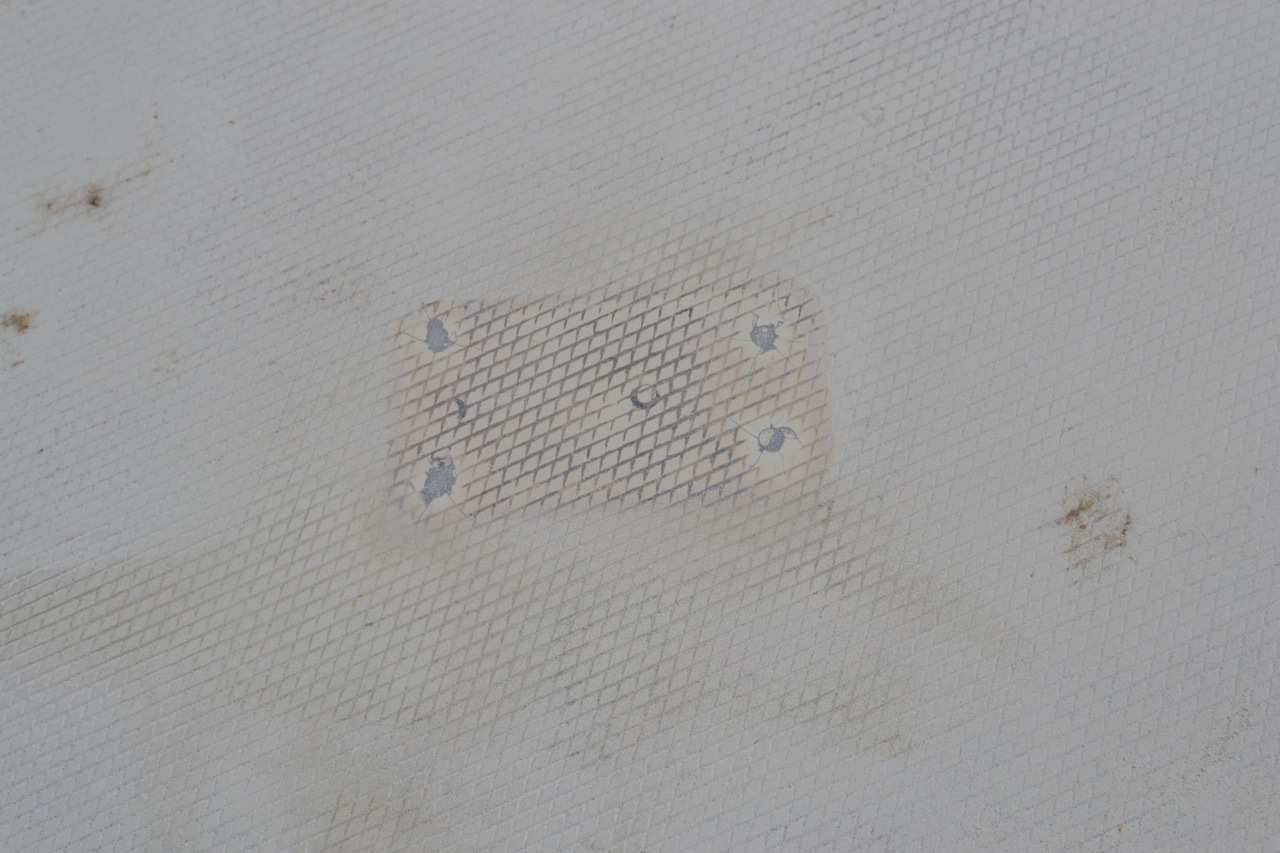
This guy firmly was secured with wood screws.
Right into the core.


I didn’t even really try to unscrew these fasteners.

One quick test with the screw driver told me they would never budge again. I cut them off with a Dremel.

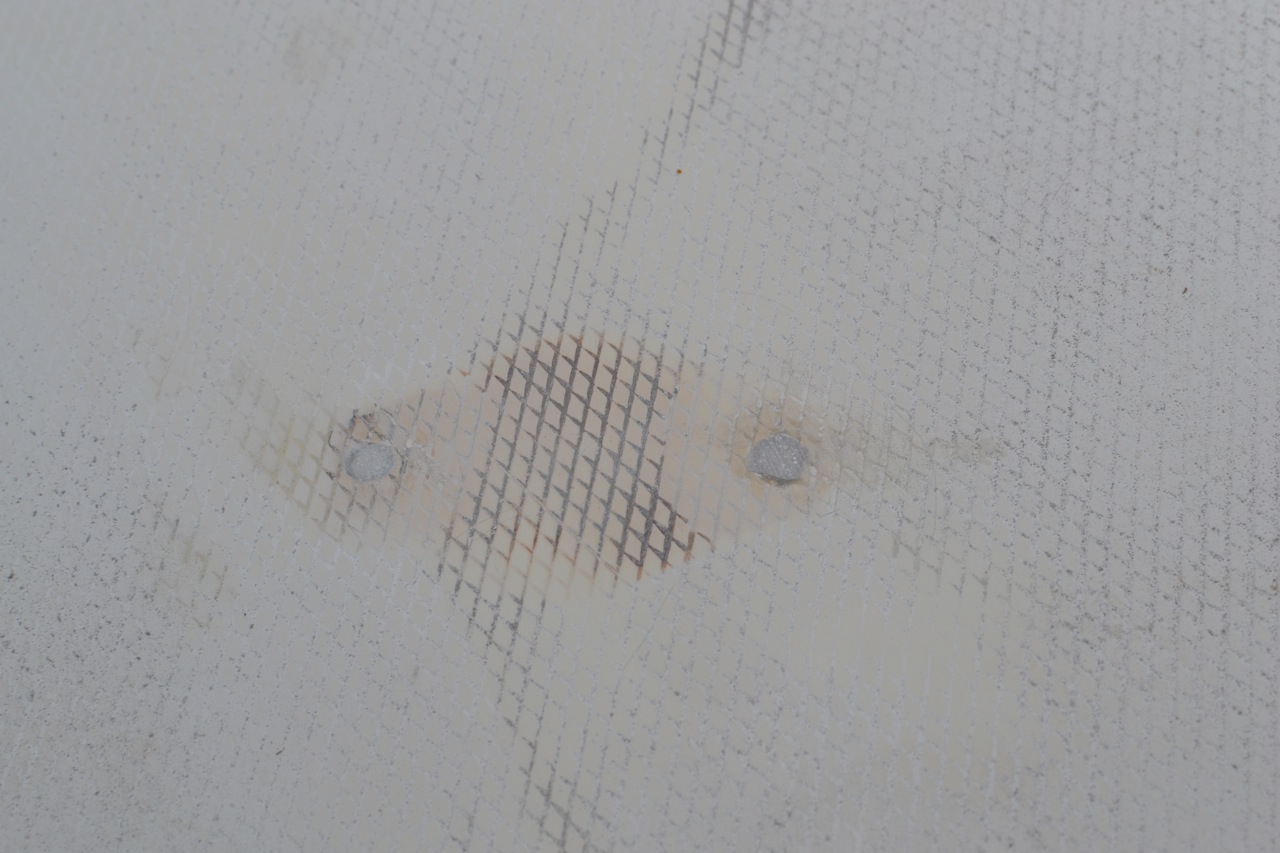
Bolt stubs cut off. See the corrosion where the stainless contacted aluminum?
After removal, I filled the old holes with thickened epoxy, using a resin syringe to fill from the bottom. I taped up the underside with duct tape to keep it from running out, and that was the end of work yesterday, as I had to wait for the resin to cure.

Can’t really see it, but there is duct tape up against the coachroof (beyond the liner), keeping the resin in place.
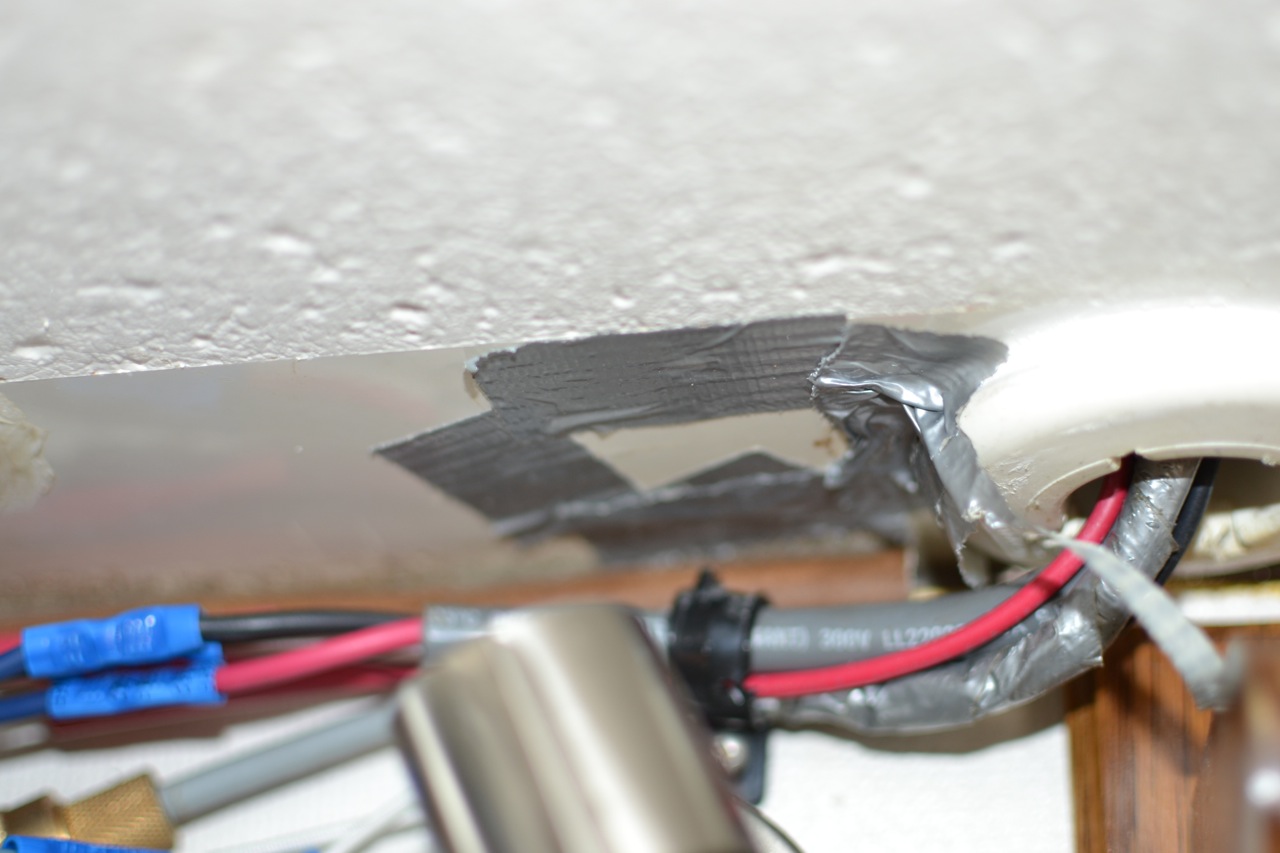
Taped up through-holes.
Holes slightly overfilled.
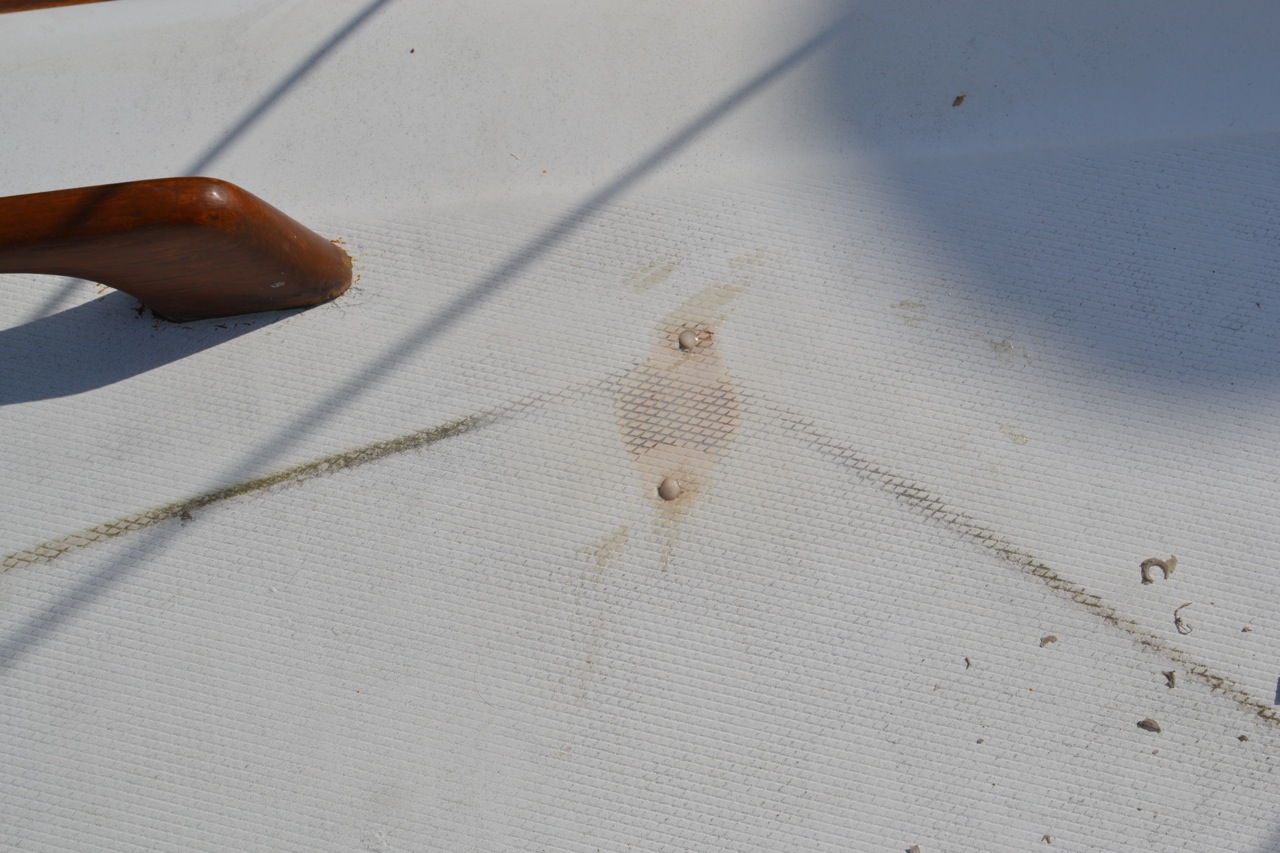
I began today by sanding the over-fills flat, then examining the halyards for placement of the blocks. I finally ended up mounting the mast turning blocks farther outboard in order to clear obstructions. Mounting them back onto the mast step plate was a non-starter. The halyards led that far from the mast looks a little strange to my eye at this point, but it is completely functional, will actually reduce halyard slap.
Overfill sanded flat.

After positioning the new blocks and fairing the alignment, I drilled the new mounting holes. I first drilled a small-diameter test hole and went below to see where it came out. There are lovely teak decorative strips installed athwart across the overhead. I didn’t want to ruin any of those. After adjusting two of the block locations, I completed drilling the holes oversize, then filled them again with thickened epoxy.
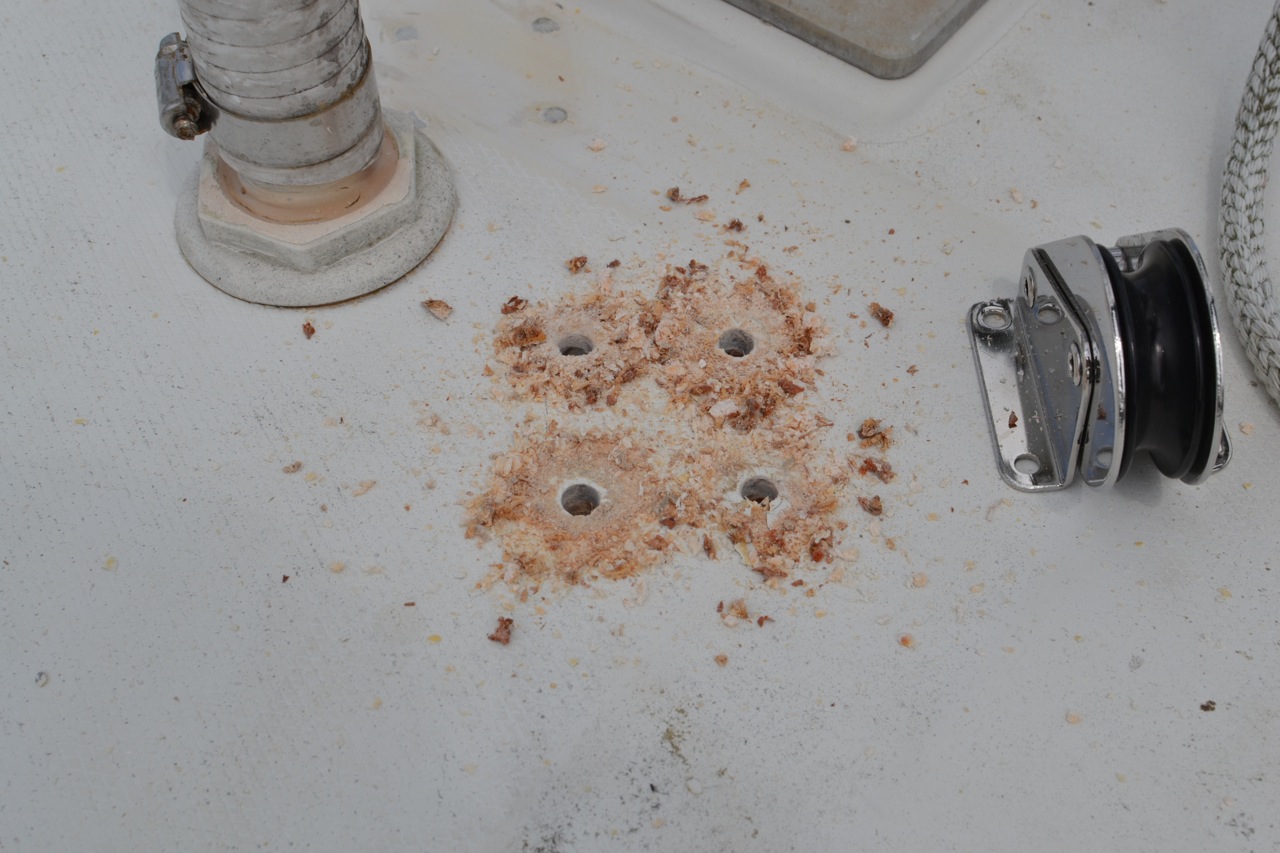
It was gratifying to see dry wood dust come up with the drill bit.

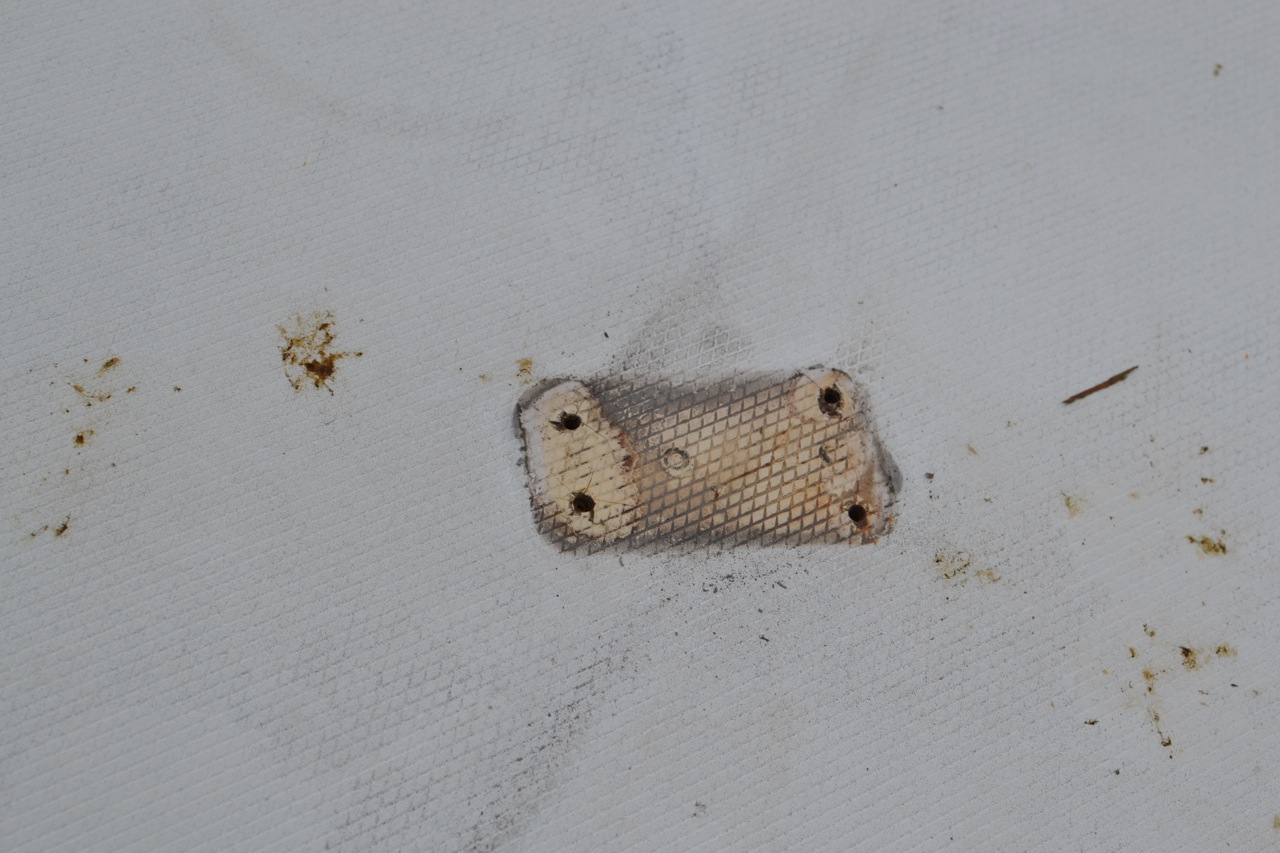
I drilled 7/8″ access holes where each fastener hole came through. I had considered obtaining white plastic cover buttons for these holes, but there are too many of them. I will cover them with either a teak plate (all four with one cover plate) from scrap, or a cover plate from some kind of white plastic. I’m leaning toward the teak.
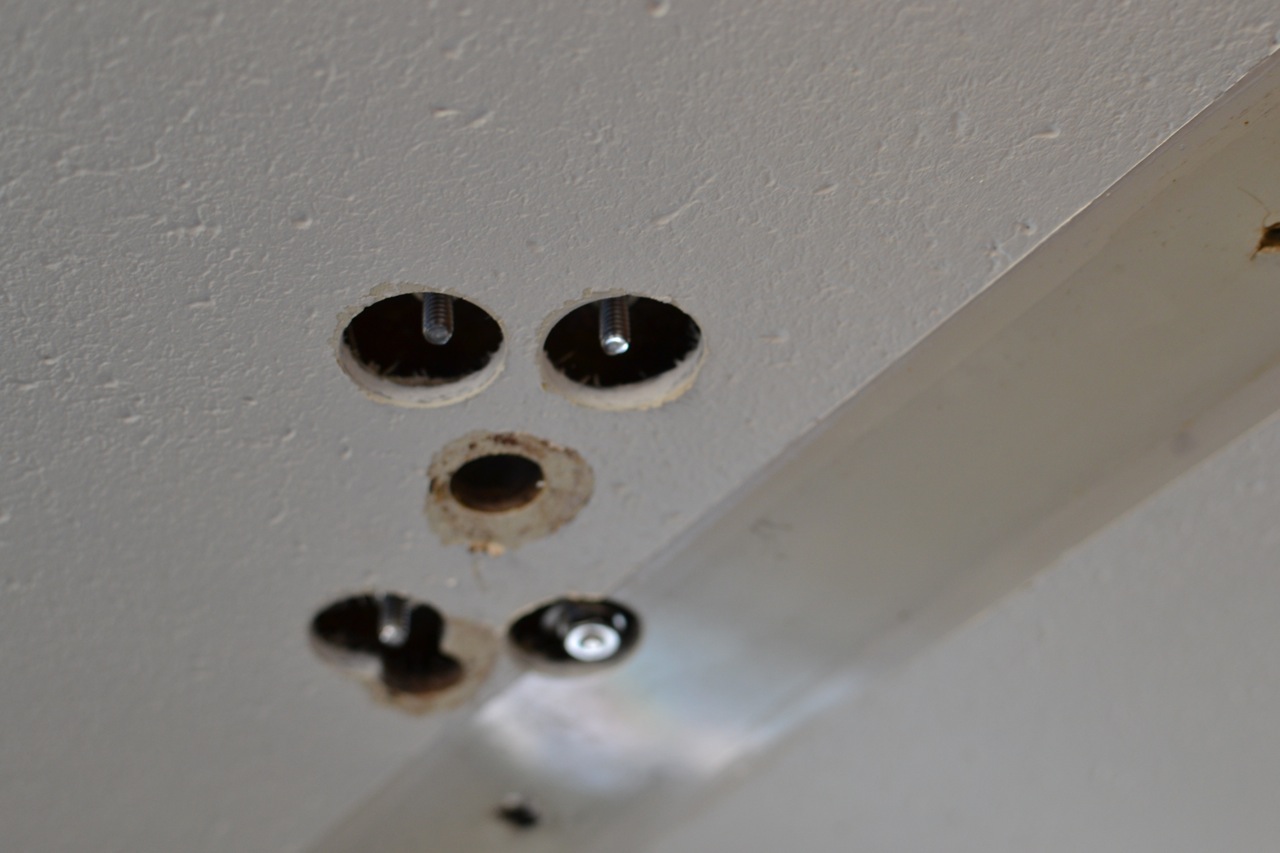
Here’s a really ugly set of holes. Old and new combined. One rectangular teak plate will cover all of that nicely.
After the epoxy cured, I redrilled the mounting holes the correct size for the fasteners, then beveled the top of each hole with a countersink bit. This allows a “pool” of sealant to completely surround the fastener, providing a more sure water barrier, especially when the butyl sealant is put under compression.

Epoxy potted holes redrilled, and countersunk.
This is the first project involving deck piercings for which I’ve used butyl tape as a sealant. If the tape is as effective sealing out water as it was easy in application, I’m sold. This is usually the part I hate most about a project. Lifecaulk or any other sealant is so completely out of control, such a mess to apply and clean up, no matter how careful I am. Butyl was a piece of cake. It’s sticky, pliable, tacky, moldable, squishable, but not messy. Apparently, it lasts nearly forever. What’s not to like?
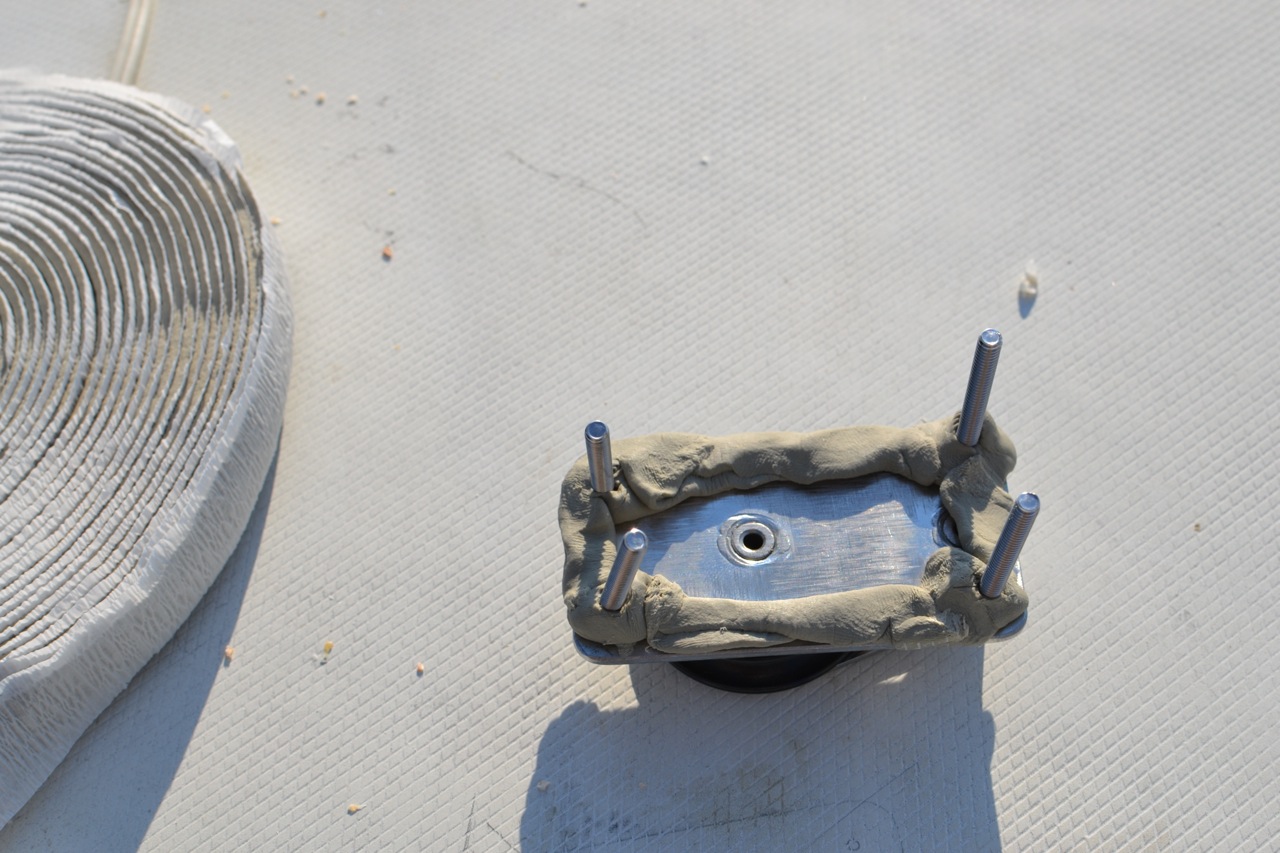
Here’s the butyl tape, rolled and blobbed around the fasteners and edge of the block.
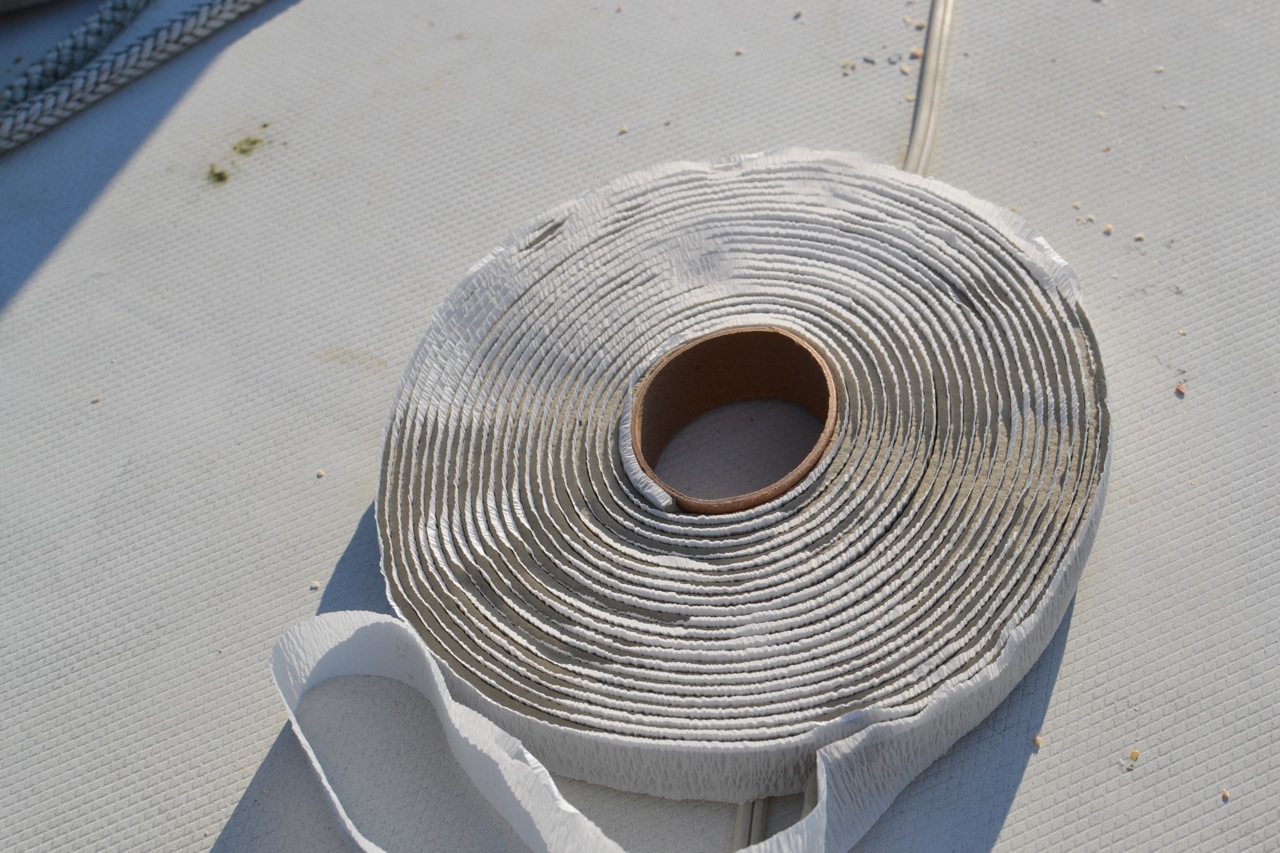
This is (was) a 30′ roll, an inch wide, 1/8″ thick. I bought it at the hardware store for $10. This stuff is supposed to allow for uninstallation too. It stays pliable for decades.
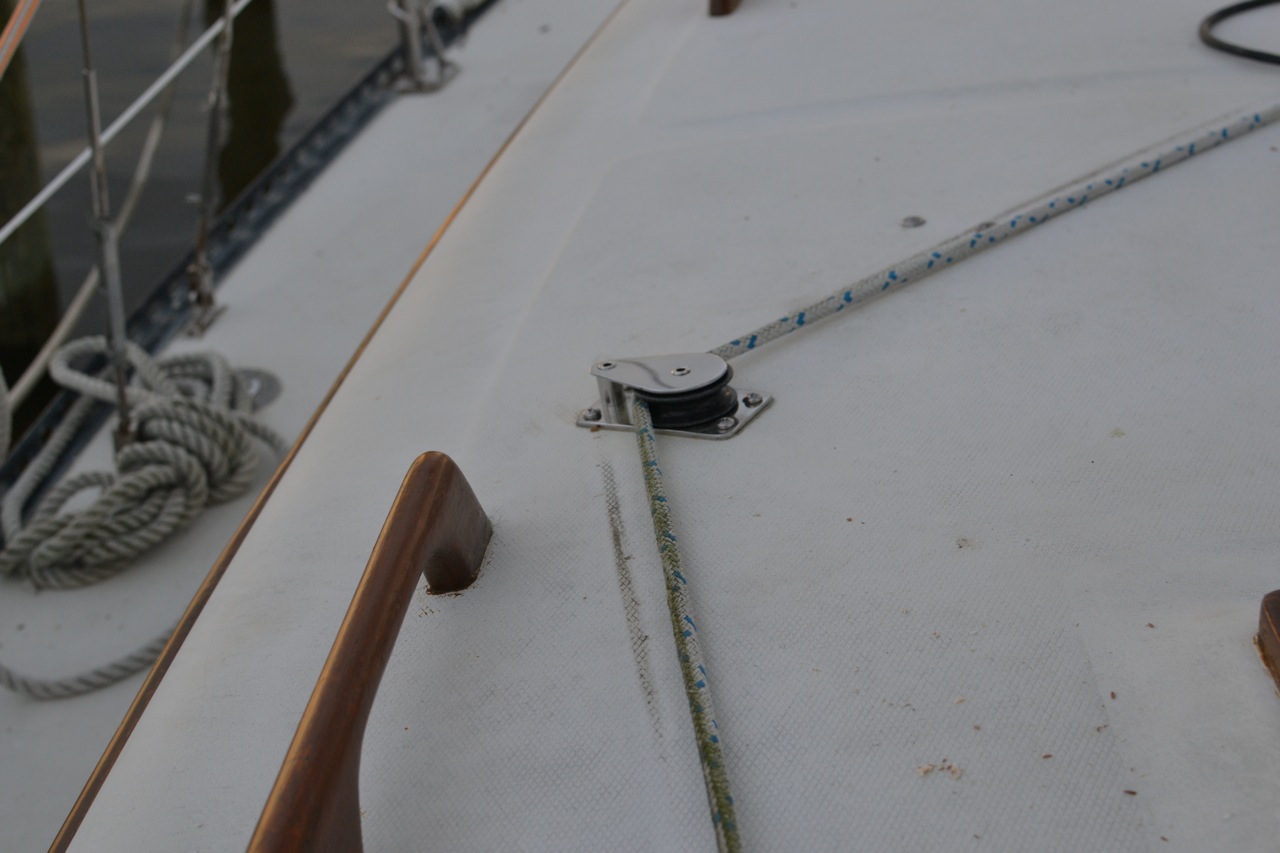
And the moment we’ve been waiting for: installed, lines in place, looking good. This only took two days of work to install four small deck-mounted blocks.

This project will really be done when I’ve fabricated and installed the cover plates.

Nice job Rick! I need to add some leaks, er, mounts to my cabin top also. I’d like to get together with you and get some pointers.
Thanks Tom. Not sure I have much expertise, other than making big, ugly holes in the overhead, but I can give you lots of pointers on that technique!
Your blog is like a well-written, perfectly-illustrated how-to manual. Always a pleasure to see what’s on tap for this week’s episode. Your hw store have white butyl tape? David G. mentioned Ace had the tube white butyl, but the tape in white would be perfect. I found some made by LifeSafe on line. I need it to seal my new large deadlights. I agree, the butyl is magic for bedding. Greg W.
Greg, I got this stuff at the local “Doit” center (Deale Hardware). It came in a 30′ roll 1 inch wide, 1/8 inch thick. It’s called “mobile home” tape, or some such thing. Obviously, they use it extensively in the assembly of mobile/motor homes, presumably to bed and seal stuff that’s attached to the body, and perhaps to gasket body parts where they join. The tape I bought was grey, and once it’s in place with the excess trimmed away, you can’t see it. Maybe it would be visible if you were sealing deadlights, though. Thanks for your kind words. I feel like I just stumble along, and the readers get to watch as I do stuff, make mistakes, and learn as I go. I think it’s important to record the failures as well as the successes.
Pingback: Preparing to Go Up the Mast for Repairs | ChesapeakeLiving.com